What is System Restore Point?
A System Restore Point on a Windows computer can be defined as a Snapshot or Time Machine backup of the computer at a specific point in time. System Restore includes a complete backup of System Files, Program Files, Registry Settings and other executable files on your computer. You need to be aware that a System Restore is not a complete backup of your computer, it only backs up System Files, Program Files and ignore all your personal files. The positive side of this behavior is that you won’t be losing 2 weeks of work, if you decide to restore your computer using a System Restore Point that was created 2 Weeks ago. Note: To backup personal files, you can use Backup & Restore or setup File History Backups on your computer.
Why Create System Restore Points?
Having System Restore Points stored on the computer allows you to fix the computer, in case it starts to malfunction or slows down after a Windows update, installation of third part Apps or for other reasons. When the computer is recovered using a System Restore Point, it goes back to the condition or working state it was in when the System Restore Point was created. This way you can quickly undo all the changes made on your computer, after which it started slowing down, getting stuck and malfunctioning. With this understanding, let us go ahead and take a look at the steps be create both automated and manual System Restore Points on your computer.
1. Create Automated System Restore Points in Windows 10
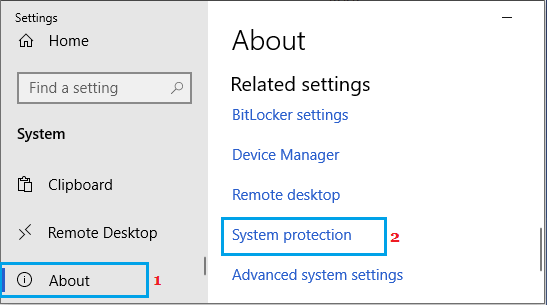
All that is required to create Automated System Restore points on your computer is to Enable System Protection feature on your device. Go to Settings > System > click on About in the left-pane. In the right-pane, scroll down and click on System Protection link under “Related Settings” section.
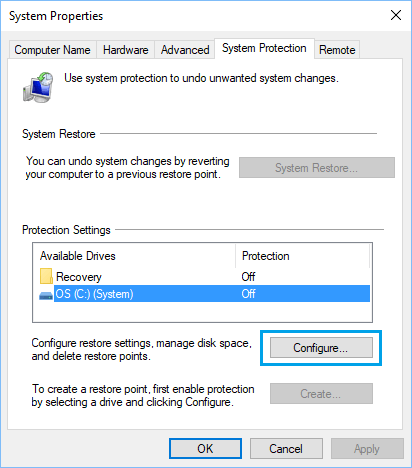
On System Properties screen, switch to System Protection Tab, select the Drive that you want to System Protect and click on Configure.
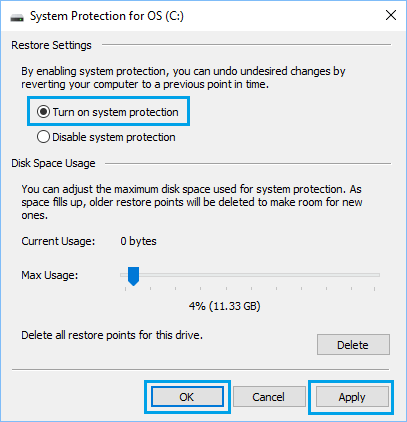
On the next screen, select Turn On System Protection option and click on Apply and OK.
Once System Protection is enabled, Windows 10 will automatically start creating System Restore Points, before installing a major Windows update, before critical driver updates and whenever any major programs are installed on the computer.
2. Manually Create System Restore Point in Windows 10
Before making any changes, you can create Manual System Restore Points at any time on your computer. Go to Settings > System > click on About in the left-pane. In the right-pane, scroll down and click on System Protection link under “Related Settings” section.
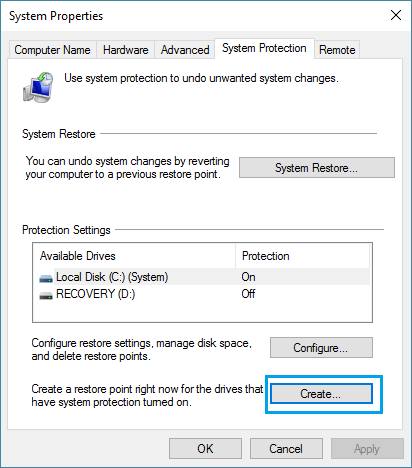
On the System Properties screen, click on the Create button.
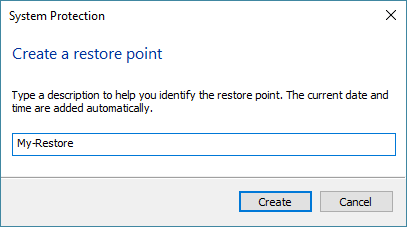
On the next screen, enter Name and Date for the Restore Point and click on Create.
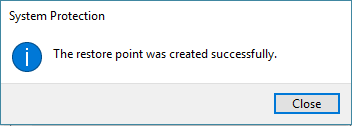
You will see a pop-up indicating the progress of System Restore Point being created. Once the process is completed, you will see a confirmation message.
You have now successfully created a System Restore Point on your computer.
How to System Restore Windows 10 Computer How to Repair System Files Using SFC and DISM in Windows 10