It’s a good habit to create a backup of your smartphone’s storage, apps, and other data. This allows you to face adversity boldly when any damage or threat is posed to your personal data in any way. However, just creating a backup of the data from the iPhone is not sufficient, you also need to know where the backup is being stored. But if you don’t know the iPhone/iTunes backup location, this article can help you with the same.
Where Are the iTunes Backups on Windows 10 and Mac Stored?
To answer this question, you can take the help of the upcoming sections of this guide. Find iPhone backup location Windows 10 or Mac as required and get back all of your data within a couple of minutes.
iPhone Backup Location on Windows 10
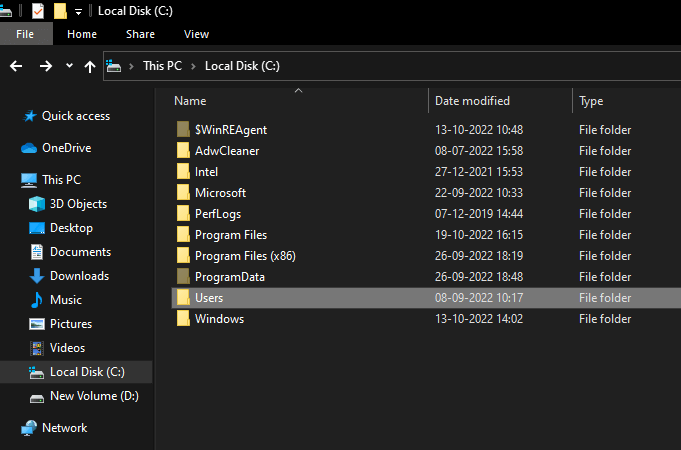
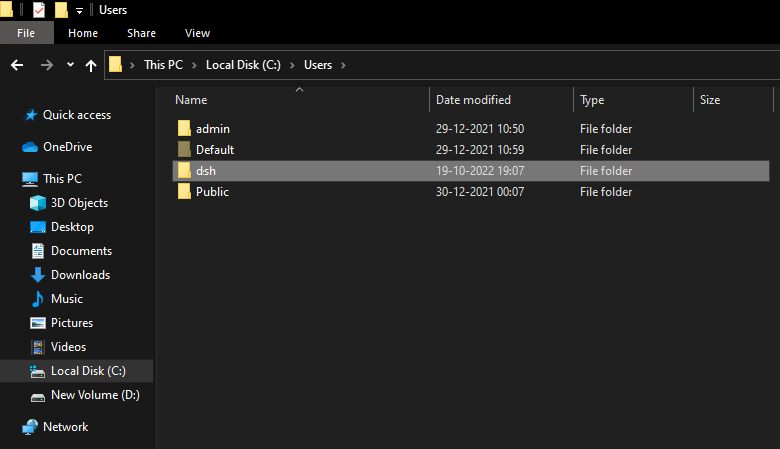
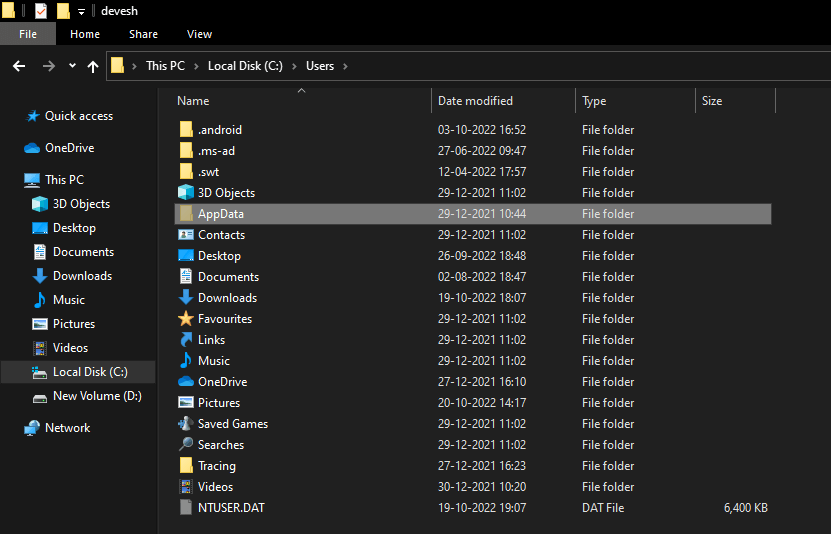
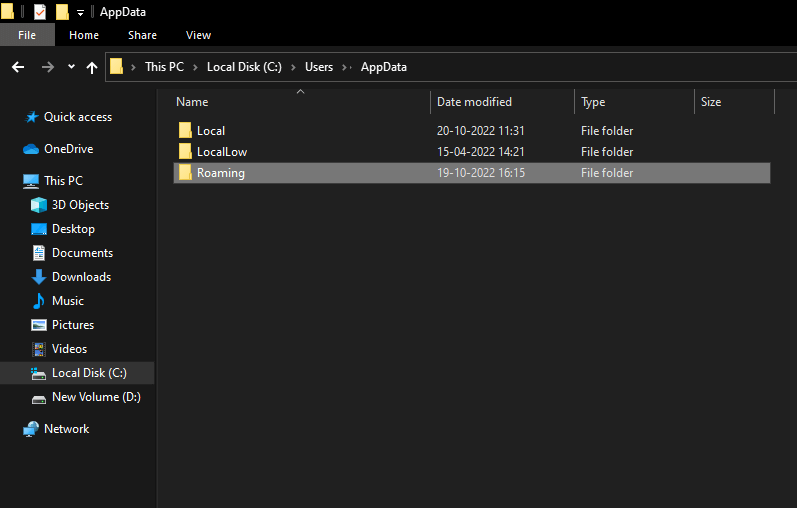
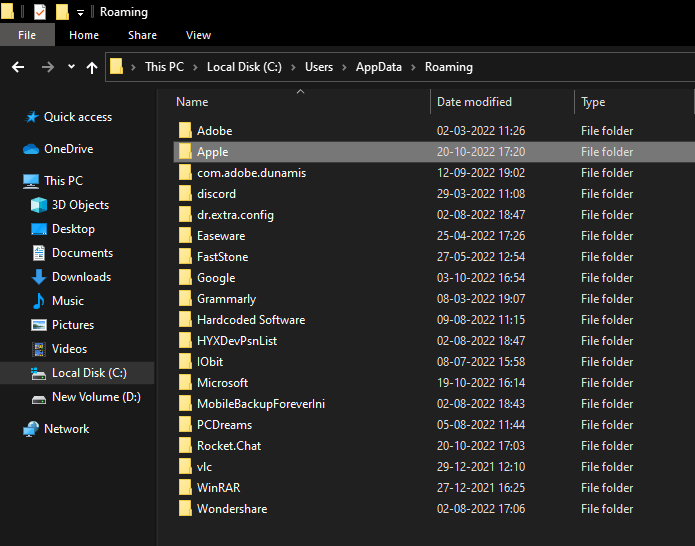
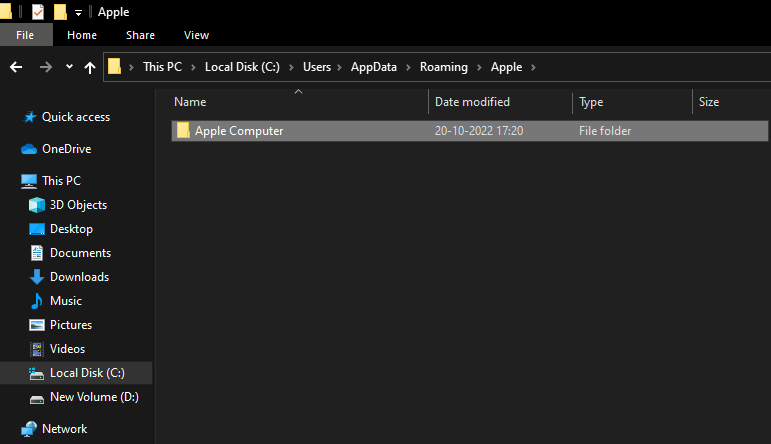
Firstly, let’s have a look at the iPhone or iTunes backup location on Windows 10. Generally, the operating system stores the data from your backup in the Users folder as it is for your disposal as a user. However, this does not mean in any way that you can’t change the exact location of your backup. This we will address in the later section of this guide. For now, let’s have a look at where does iTunes store backups on Windows. The procedure to look for backups on Windows 11, 10, 8, and 7 is quite similar. Follow the steps below to ascertain the exact location of the backups with ease: In brief, Windows (other than Windows XP) users can navigate to C:\Users(theusername)\AppData\Roaming\Apple Computer\MobileSync\Backup Windows XP users can navigate to C:\Documents and Settings(the username)\Application Data\Apple Computer\MobileSync\Backup. However, if you use iTunes via the Microsoft Store, then the backups are in C:\Users(username)\AppleMobileSync\Backup. If you want the solution for where are iPhone backups stored on Mac, then use the next section. Also Read: How to Enable Do Not Disturb on iPhone/iPad
Where to Find iPhone Backup on Mac?
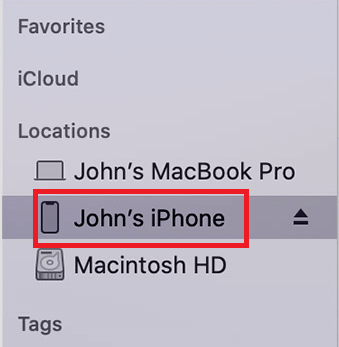
Next comes how to find iPhone backup on Mac. Generally, the iPhone or iTunes backup location on Mac is at /Library/Application Support/MobileSync/Backup/. However, at times users may not be able to find the same in this folder directly. So, the below-provided methods will help you get to the exact location: Now, let’s have a look at how to change the iTunes backup location on Windows 10 very easily.
Procedure to Change iTunes Backup Location on Windows 10
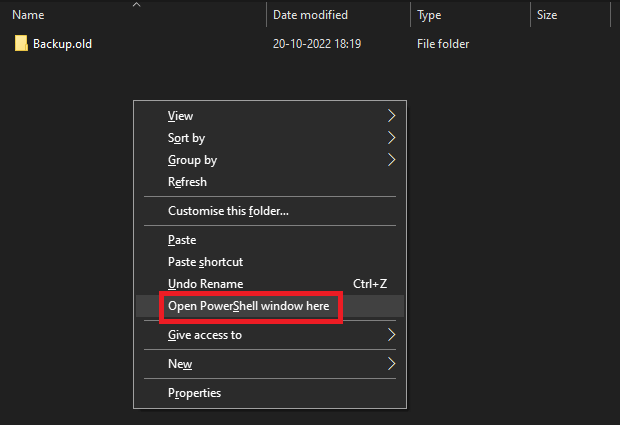
You know it’s very easy to find the iTunes backup location on Windows 10. Once you find the backup folder, it’s not as easy to move the same to another location. If you anyways do it using traditional methods like cut and paste, you will fail to restore the data using this moved folder. Hence, there are other methods to change the exact location of your backup. To change the iTunes backup location on Windows 10, you have to take the help of some commands on the Command Prompt. However, the thing to remember is, even if you move the folder using CMD, you still need to move it back to the default folder for the backup to work. This means that you can not restore the data from the move backup folder even if you do that using Command Prompt. So, to get the answer for how to change the iTunes backup location, follow the procedure provided below:
How to Delete Backups from the iTunes Backup Location?
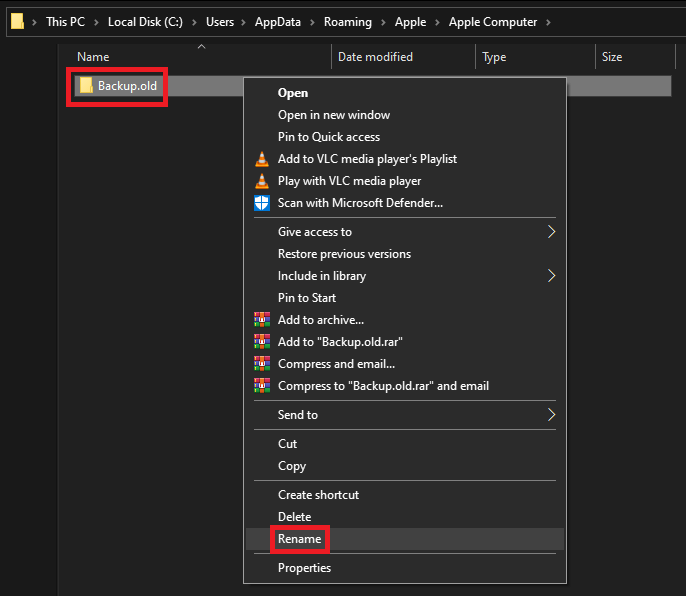
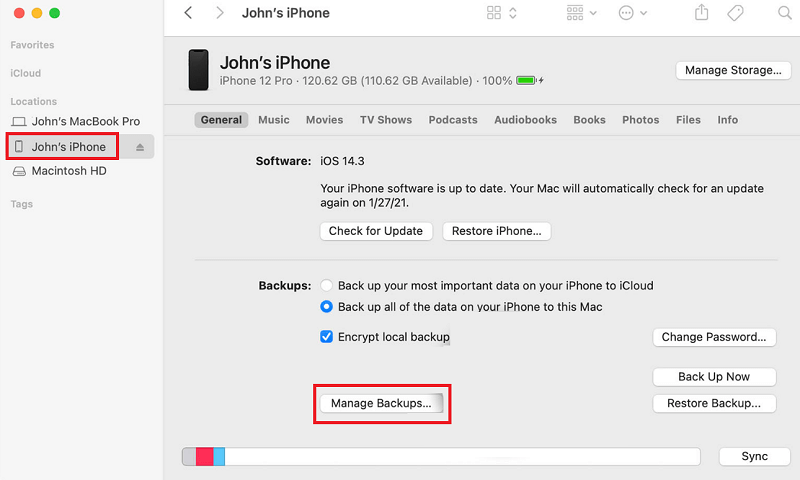
The process to delete backups after you find the iPhone backup location is quite easy. Windows Users: If you are using Windows for backups then all you should to do is navigate to the exact location of your backups using the procedure explained above. Then use the Delete or Shift+Delete command to delete the backups. Mac Users: The procedure to delete backups from the iPhone backup location on Windows 10 is comparatively easier than that in Mac. You have to connect the iPhone to your Mac for the procedure to work. Follow the steps below for ease: Also Read: How to Disconnect The iPhone from A Mac
How to Find iPhone backup location on Windows and Mac: Explained
So, in the earlier sections of this simple guide, we had a look at different methods to know and find iPhone backup location on Windows and Mac. We hope that the solutions to find, delete and move the backups helped you in the procedures. If you have any questions related to the guide, inform us using the comments section below. We appreciate your suggestions as well. Subscribe to the newsletter from the blog page and stay ahead with other such technical and helpful guides and updates.

