Setup Kindle Fire Tablet
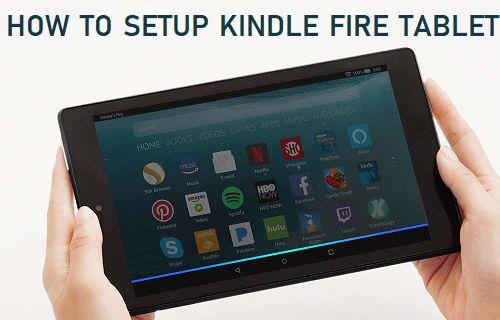
Hence, this tutorial providing step-by-step instructions to Setup Kindle Fire Tablet.
Power on your Kindle Fire Tablet The first step is to Power on your device, by pressing and holding the power button, until your Kindle Fire vibrates, or you see the screen power on.
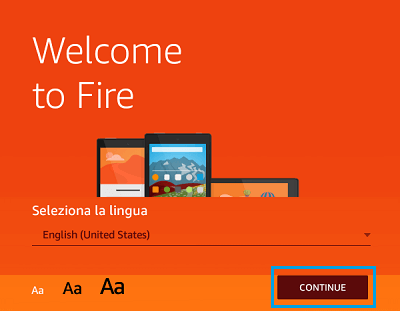
Choose Language Once Kindle Fire tablet is Powered ON, you will be greeted with a welcome screen and asked to choose your Language. Simply select your language and tap on the Continue button located at the bottom right corner of your screen.
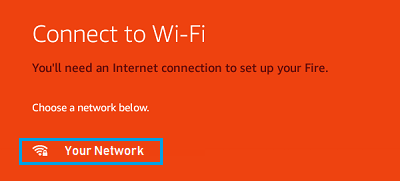
Sign into WiFi Network After choosing your preferred language, you will be asked to Sign into your WiFi Network. Select your Network from the list of WiFi Networks listed on the screen of your Kindle Fire Tablet and sign-in using your WiFi Network Password.
Note: Once you are signed into a WiFi network, Kindle Fire tablet will download updates (in case available).
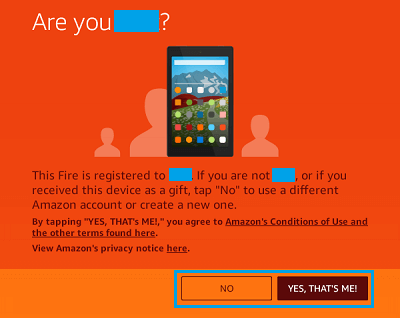
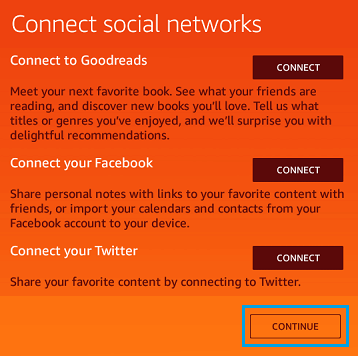
Note: If you previously owned a Kindle Fire tablet, then you may see a screen asking you if you would like to restore your Kindle Fire tablet from a backup. 5. Choose Kindle Fire Options Once you have signed into Kindle Fire tablet, you will be asked if you would like to enable or disable a bunch of settings. Based on your requirements and preferences you can enable or disable each of the settings listed above. 6. Connect to Social Networks The final step to complete the setup process of your new Kindle Fire tablet is an optional step that allows you to connect to social networks like Goodreads, Facebook and Twitter. To connect to these social networks, simply tap on the Connect button located next to the network’s name.
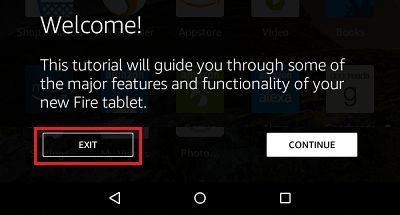
If you do not want to connect to any social networks, simply tap on Continue to finish the setup process. 7. Setup is Complete! That’s it! You have successfully completed setting up your Kindle Fire tablet. You can also optionally take a tutorial that will show you how to use your Kindle Fire tablet. To skip the tutorial, simply tap on the Exit button.
You can now enjoy using your brand new Kindle Fire tablet!
